- Home
- Basic embroidery stitches
- Cretan Stitch
How to Do Cretan Stitch – Step-by-Step Tutorial
Ever tried Cretan stitch and ended up with wobbly, uneven lines?
You’re not alone!
This embroidery technique looks simple but requires a few key tricks to get it right. In this guide, I’ll show you:
- How to do Cretan stitch step by step (with photos).
- The most common mistakes—and how to avoid them.
- Variations and creative ways to use it in embroidery and crazy quilting.
By the end, you’ll be stitching perfect Cretan stitches with confidence!
Troubleshooting and Correcting Mistakes
"Why does my cretan stitch look messy?"
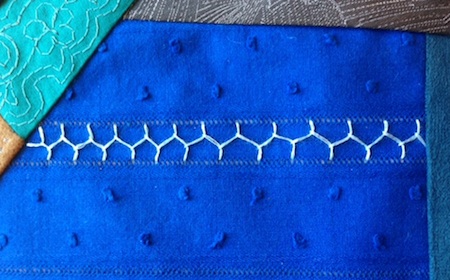
Below is a photo of how it should look when stitched correctly.
And here's and example of what it should NOT look like.
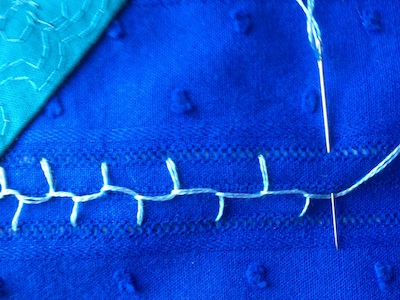
Why does this happen?
Most mistakes come from stitch placement. Imagine three parallel lines:
- Top line
- Middle line (centre)
- Bottom line
The trick is to "see" two more invisible lines between them.
These help maintain spacing and stitch consistency. You can even draw them lightly with a fabric pencil for extra guidance.
How to Do Cretan Stitch in 5 Simple Steps
You'll need:
2 strands of DMC Coloris shade 4504 (or your favourite embroidery floss)
Calico fabric (or any sturdy embroidery fabric)
A sharp embroidery needle
Fabric marker or pencil (optional for stitche guides)
Step 1: Start on the centre line
Lightly draw three parallel lines on your fabric.
Bring the needle through from the back on the center line.
Insert your needle on the top line a short distance ahead. Bring it back up between the top and center lines, making sure the needle is laying over the working thread and pull it through.
This is similar to a blanket stitch!
 Cretan stitch step 1
Step 2: Reverse Your Needle Direction
Turn your needle around so it is pointing towards the top of your work, and insert it on the bottom line. Bring it back up between the bottom and middle line, as shown.
Keep the thread tucked under the needle and pull it through.
 Step 2
Step 3: Turn the needle again
Turn your needle so it is pointing downwards. Insert it on the top line and bring it up halfway between the top and centre lines.
⚠ Avoid pulling too tightly! This can pucker the fabric
 Step 3
 Step 4
Step 4: Repeat Alternating Stitches
Repeat Steps 2 & 3, alternating between top and bottom lines.
Pro Tip: Keep your stitches even in size to create a smooth flowing effect.
 Step 5
 Fastening off
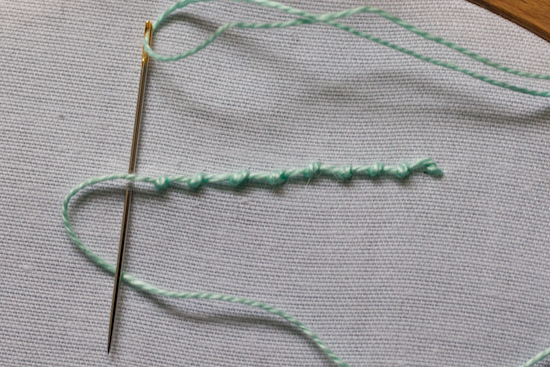
Step 5: Fasten Off Securely
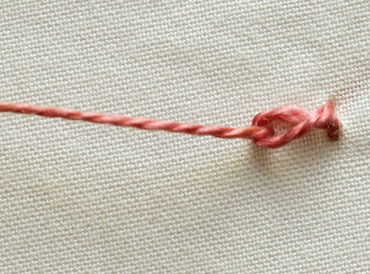
To secure your row, slip your needle under the last stitch twice.
Move back one stitch and repeat.
For extra security, slip under the third stitch from the end, looping the thread before pulling through.
 Completed row of cretan stitch
Using Cretan Stitch In Crazy Quilting
Cretan stitch is perfect for decorating seams in crazy quilts. It creates a decorative, flexible effect that you can leave simple or embellish.
Ways to Decorate Cretan Stitch
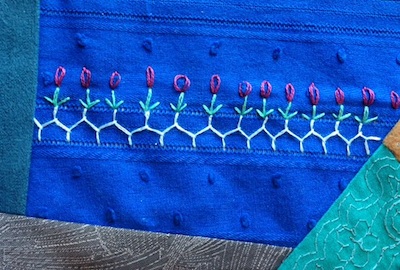
Basic: Stitch along the seam as-is for a clean elegant seam decoration.
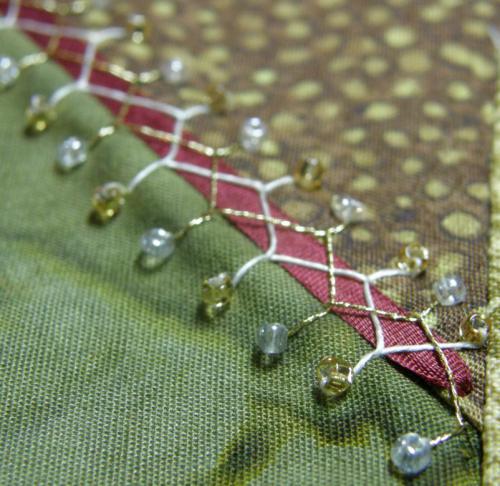
Beaded: Add small seed beads along at the ends of the stitches along the top and bottom lines.
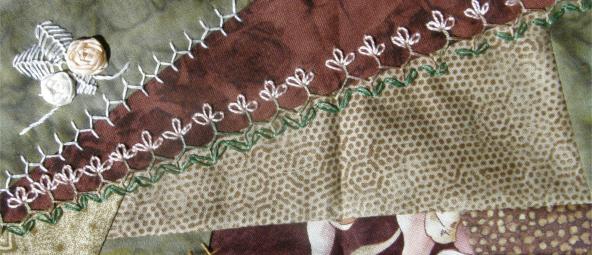
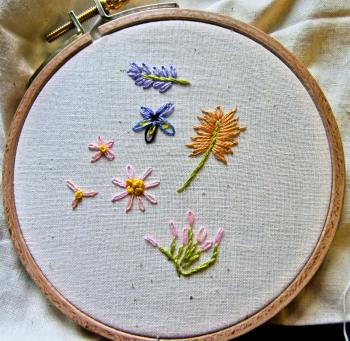
Additional stitches: Combine with lazy daisy stitches and french knots to create embroidered flowers.
The top seam in this first photo shows basic cretan stitch.
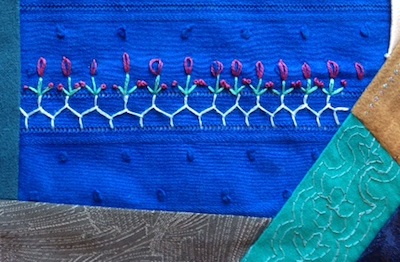
The next photo shows two overlapping rows which have then been decorated with beads.
The photos below show additional stitches that embellish the seams further.
Here three straight stitches in green, topped with a dark pink lazy daisy stitch to resemble a flower. I then added french knots to the shorter straight stitches.
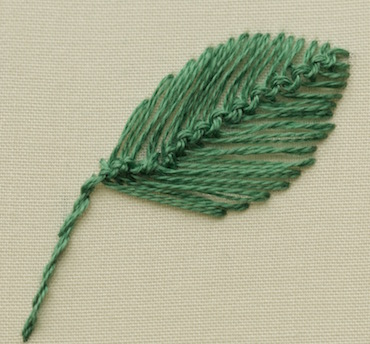
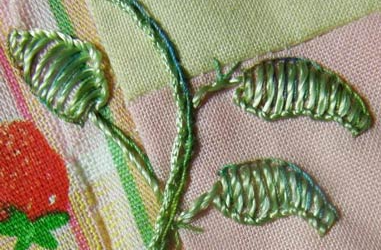
Cretan Stitch for a Leaf 🌿
Want to get creative? Use Cretan stitch to fill shapes, like leaves!
Draw the shape on your fabric.
Work cretain stitches, tightly packed inside the shape.
Click here for more embroidered leaf ideas and tutorials.
Did this page help my master cretan stitch? I'd love to hear your feedback. Use the form below to share your thoughts.
What did you think of this page?
Did it give you all you needed or did anything else spring to mind? If there was something missing give me a shout – or let me know if this page proved helpful (do let me know which page you are commenting on).
Would you like a direct reply? Just pop your email address below, and I'll be in touch.
Stay connected between projects
If you’d like occasional updates from my embroidery room, including new patterns, gentle tips, and little things I think you might enjoy, you’re warmly invited to join the Stitchin’ Times newsletter.
No pressure. Just a friendly note now and then to keep you inspired.
You Might Like These
Which hand embroidery stitches are best for stems and twigs
A selection of hand embroidery stitches that are ideal for outlining shapes or stitching stems, branches, twigs, vines and even seaweed.
Needlepoint Stitches: Choose the Right One for Stunning Designs
Struggling to choose the right needlepoint stitch? Get expert tips on selecting stitches for texture, direction, and style. Learn effortlessly
Learn bullion stitch, aka bullion knots and how to use them
How do you make a perfect bullion knot? Expert tips for adding bullion stitch to your embroidery projects with ease.


Copyright © Carol Leather - 2006-2024
About Me - Contact Carol - Privacy Policy - Site Map - Testimonials
Please do not copy the content of this site. It is protected by Copyscape.
Copyright © 2006- www.needlework-tips-and-techniques.com All rights reserved