- Home
- Hand embroidery for beginners
Hand Embroidery for Beginners
Starting embroidery is like stepping into a world of creativity, colour, and calming stitches—but where do you begin?
If you’ve ever stared at an embroidery hoop, wondering which fabric to use or how to get your design onto it, you’re in the right place.
This guide will walk you through everything you need to get started.
From choosing your materials to transferring a design. You will be confident to pick up a needle and start stitching.
No stress, no fuss, just simple, clear steps to get you going on your embroidery journey!
Supplies You’ll Need to Begin
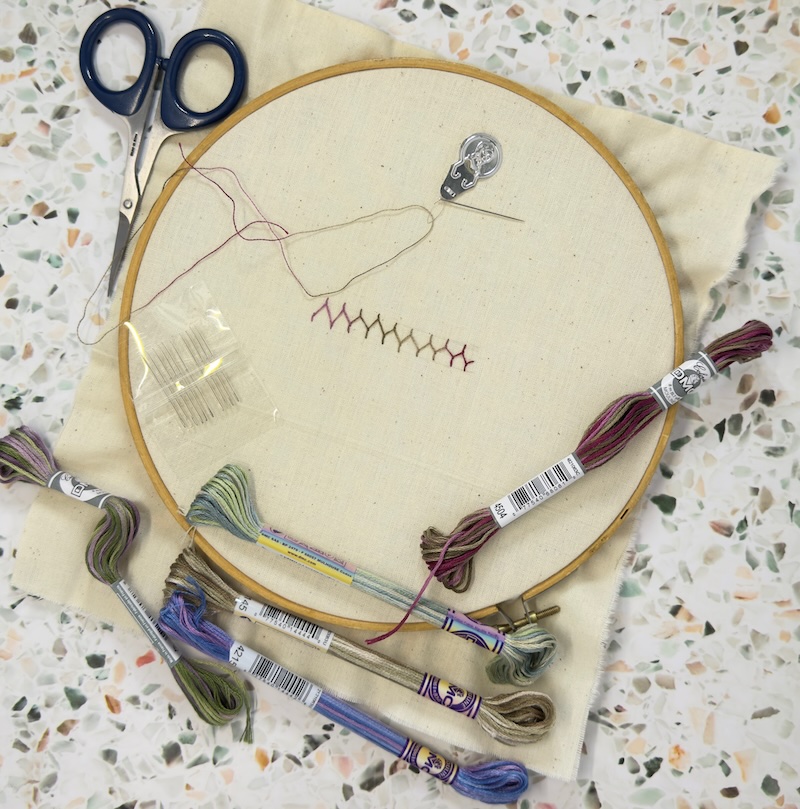
Starting embroidery requires just a few basics. Collect together:
- Fabric (see options below)
- An embroidery hoop (15-20cm is ideal for beginners)
- Embroidery needles (sizes 3-9) and optionally a needle threader
- Embroidery floss in your chosen colours
- Small sharp scissors
- Water soluble marking pen
Choosing and Preparing Your Fabric for Embroidery
Your choice of fabric can make a big difference in how enjoyable (and easy!) your embroidery experience is.
Some materials are beginner-friendly, while others require a little more skill.
Let’s break it down.
Choosing the Right Fabric
For your first embroidery projects, it's best to start with fabrics that are easy to work with. Here are some great options:
- Medium-weight cotton – Sturdy, smooth, and easy to handle—ideal for beginners.
- Muslin – Lightweight and inexpensive—perfect for practice pieces.
- Aida Cloth – Great for cross-stitch or any design where you count the threads.
- Canvas – Durable and supportive of a variety of embroidery stitches.
Once you gain confidence, you can explore:
- Linen – Beautiful texture but can be tricky to stitch on.
- Silk – Luxurious but slippery—best left until you've mastered the basics.
- Textured fabrics – Towelling or velvet can add interest but require more experience.
Preparing Your Fabric Before Stitching
Before you begin stitching, take a few simple steps to prepare your fabric for the best results:
Cut with extra allowance – Leave a generous border around the edges so you have room to mount or finish your piece later.
Wash and press your fabric – This removes dirt and creases that could affect your stitching qualit
Select a pattern – Choose a simple design that matches your skill level to build confidence and develop good technique.
🧵 Not sure where to start?
Browse my collection of free embroidery patterns for beginners to find something fun and easy!.
Transferring Your Embroidery Design onto Fabric
Once you've prepared your fabric and selected your pattern, it's time to transfer your design.
The right method depends on your fabric type and personal preference.
Here are some simple ways to do it:
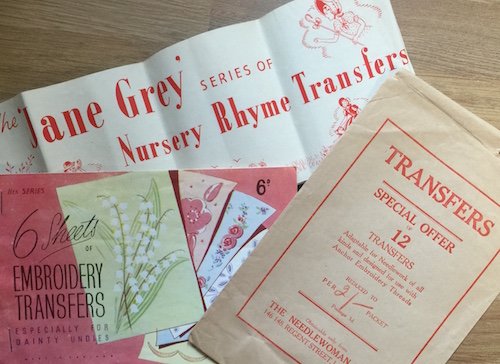
1. Lightbox or Window Tracing Method (Best for Light Fabrics)
📌 Perfect for: Cotton, linen, and other light-colored fabrics.
🔹 How to do it:
- Secure your printed design to a light source (a window or lightbox).
- Place your fabric on top, aligning it with the design.
- Use a washable fabric marker or pencil to trace the design onto the fabric.
2. Transfer Paper Method (Great for Dark Fabrics)
📌 Perfect for: Medium to dark-colored fabrics where tracing won’t show.
🔹 How to do it:
- Place transfer paper (colored side down) on your fabric.
- Position your design on top and secure with tape.
- Use a stylus or ballpoint pen to trace over the design with firm pressure.
- Lift the papers to reveal your transferred design, ready for stitching.
3. Water-Soluble Stabilizer (Best for Delicate or Stretchy Fabrics)
📌 Perfect for: Thin, stretchy, or textured fabrics like silk, knits, or towels.
🔹 How to do it:
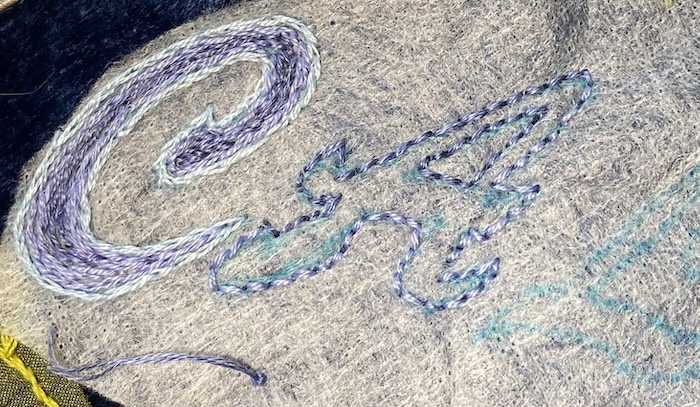
- Print or trace your design onto water-soluble stabilizer.
- Place the stabilizer on your fabric and stitch through both layers.
- Once finished, rinse with water to dissolve the stabilizer, leaving just your stitches.
🧵 Want a Tutorial?
Check out our Water-Soluble Stabilizer Tutorial to see this method in action!.
4. Iron-On Transfer Pens or Pencils (Best for Reusable Patterns)
📌 Perfect for: Quick, repeatable transfers where precision is less critical.
🔹 How to do it:
- Use an iron-on transfer pen or pencil to trace your design onto tracing paper.
- Position the design face down on your fabric.
- Press with a hot iron to transfer the lines onto the fabric.
🧵 Want More Information?
Quick Tips for Success
Choose the method that best suits your fabric, and keep the following in mind:
- Work on a flat, stable surface
- Take your time—rushing leads to mistakes
- Keep your design secure while tracing
- Use light pressure to avoid making permanent marks on your fabric
Using an Embroidery Hoop
Once you've transferred your design onto the fabric, you'll need to secure it in the embroidery hoop. This step keeps your fabric taut and evenly stretched, making your stitching easier and more precise.
Selecting the Right Hoop
Pick a hoop slightly larger than your design. Check that it's clean and smooth, without rough spots that might snag or damage your fabric.
Mounting Your Fabric in the Embroidery Hoop
- Lay your fabric over the smaller inner hoop
- Centre your design carefully
- Press the larger outer hoop down over the fabric
- Tighten the screw to hold everything in place
- Check that the fabric is smooth and even, without wrinkles
Choosing Your Colours and Threads
Picking the right colours brings your project to life. Here’s how to get started:
Start simple: Two or three shades are enough for beautiful results.
Contrast matters: For bold designs, choose colours that stand out against your fabric.
Test first: Place small swatches of thread on your fabric to see how they look together.
What's Next?
Now that you’ve learned the basics, it’s time to apply your new skills! Try these beginner-friendly projects to continue building confidence:
🧵 Now that you have your supplies ready...
It’s time to start stitching! Learn your first embroidery stitches.
🧵 Create Your Own Embroidery Stitch Sampler
🧵 Start with Redwork Embroidery
🧵 Struggling with thread tangles or uneven stitches?
Don’t worry—check out our Troubleshooting Guide for easy fixes..
Taking it further
Embroidering is fun, creative, and satisfying.
With the tips shared here, you’re ready to create beautiful pieces. Gather your materials, try out new stitches, and let your imagination run wild.
Writer's Bio
I'm Carol, and I've been sharing my passion for hand embroidery with beginners since 1992. Over the years, I've taught at major UK needlework shows, local craft shops, private groups and one-to-one sessions. Now it's your turn to learn from the comfort of your own home.
My approach to teaching embroidery is straightforward and encouraging. Whether you're completely new to needlework or returning after a break, I'll guide you through the essentials.
After 30 years of teaching, I've refined techniques perfect for novices—and I’m excited to share them with you.
Feeling nervous? Don't be—embroidery is easier than it looks!
do you have a question about Embroidery?
This is your spot to ask any embroidery questions that you have. Other visitors to the site will be able to view and hopefully answer your queries.
Or perhaps you have some tips or even an article that you have written and would like to share?
Your contribution will be made into its own page on the site, and other people can comment on your submission.
So join in and use the form below to have your say.
What Other Visitors Have Said
Click below to see contributions from other visitors to this page...
how to launder red work embroidery 


How do I safely launder red work embroidery? I do not know if the red embroidery, which is on white pillow shams, has ever been "set". There are no stains …
what type of embroidery is this? 


Many years ago I taught myself to embroider flowers , butterflies, etc. I purchased a book, and if I remember correctly the author's name was Erica Wilson, …
What wool was used for a piece of antique needlework? 


I recently purchased an antique (unfinished tapestry that feels like wool threads..I am inspired to finish this piece and possibly embellish it. How can …
Crewel work using Appletons wool 


I am looking for some fabric that will support Appletons wool, everyone tells me to use linen twill but as I am new to this I would like to find something …
Does the stamped embroidery design wash out? 


This is my first venture into hand embroidery. Counted cross-stitch has always been my game. So, please help!
I am taking on a huge tablecloth project …
How to fix an untied knot 


I wish I had found this web site before I did the embroidery embellishment on my tunic top.
Then I would have known how to start the thread without …
Do I tie a knot while doing stamped embroidery 


I embroider pre-stamped pillow cases and dresser scarves.
I do not always like the way it looks on the back, with all the knots, it seems so untidy. …
I want to embroider, its just that I am a rank beginner 


and am frustrated beyond words in my inability to find projects I want to work with!
Just about everything is cross stitch (I live in "Silicon Valley", …
How long should it take me to embroider a piece? Not rated yet
I am a beginner embroiderer and I wonder what my goal should be for any given piece of embroidery...when I look at a new pattern, how can i gauge how long …
Backing for an embroidered lavender bag Not rated yet
I'm quite an amateur at this kind of thing, but was going to hand embroider my grandmother's name on a piece of cottton, (then sew and stuff that to make …
beginner at embroidery has some questions Not rated yet
I've never done embroidery before and am so interested in learning many things I wished I had been taught as a child.
I have bought the supplies and …
What did you think of this page?
Did it give you all you needed or did anything else spring to mind? If there was something missing give me a shout – or let me know if this page proved helpful (do let me know which page you are commenting on).
Would you like a direct reply? Just pop your email address below, and I'll be in touch.
Stay connected between projects
If you’d like occasional updates from my embroidery room, including new patterns, gentle tips, and little things I think you might enjoy, you’re warmly invited to join the Stitchin’ Times newsletter.
No pressure. Just a friendly note now and then to keep you inspired.
